Tutorial: Create a Travel/Sailing Blog using Blogger

Why Blogging?

For a good many years, it was convenient to use Facebook as a place to share stories and photos of my travels with friends and family. Now that so many people have deleted their Facebook accounts, this no longer works all that well, and there isn't really any viable alternative yet.

For this reason, I believe that good, old-fashioned blogging may be poised for a bit of a comeback.

Blogger, which is owned by Google, is one platform where you can set up your own blog.

Why Blogger?

  1. It's free!
  2. It allows you to post to your blog with just an email--no need to log into a Web interface. This makes it especially well-suited to blogging where Internet is spotty or slow, as is frequently the case with offshore sailing or off-the-beaten-track travelling.
  3. Did I mention it's free?
In this tutorial, you will learn:
  • The basic steps to setting up a blog on Blogger
  • How to change the time zone used to timestamp your posts.
  • How to change the date format of your posts from the execrable default formats used by Blogger.
  • How to post a blog entry using email, including from a mobile phone.

Basic Blog Setup on Blogger

You can probably set up your blog entirely from a mobile device, but it is not going to be as convenient as doing it from a proper computer. For the purposes of this tutorial, I'm going to assume you are sitting in front of a monitor with a keyboard and mouse before you.

The first step in setting up a blog is to point your Web browser to www.blogger.com and click on the "SIGN IN" link. Blogger is owned by Google, so you will sign in with your Google username and password (create a Google account if you don't already have one).

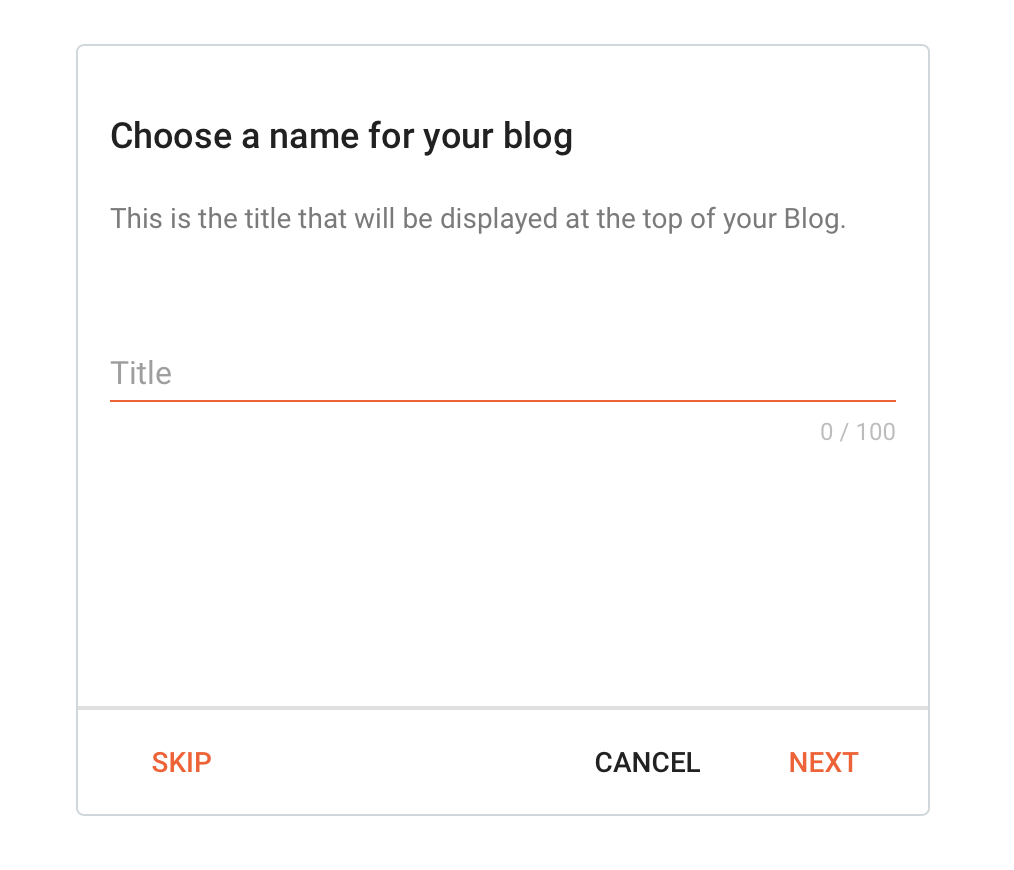
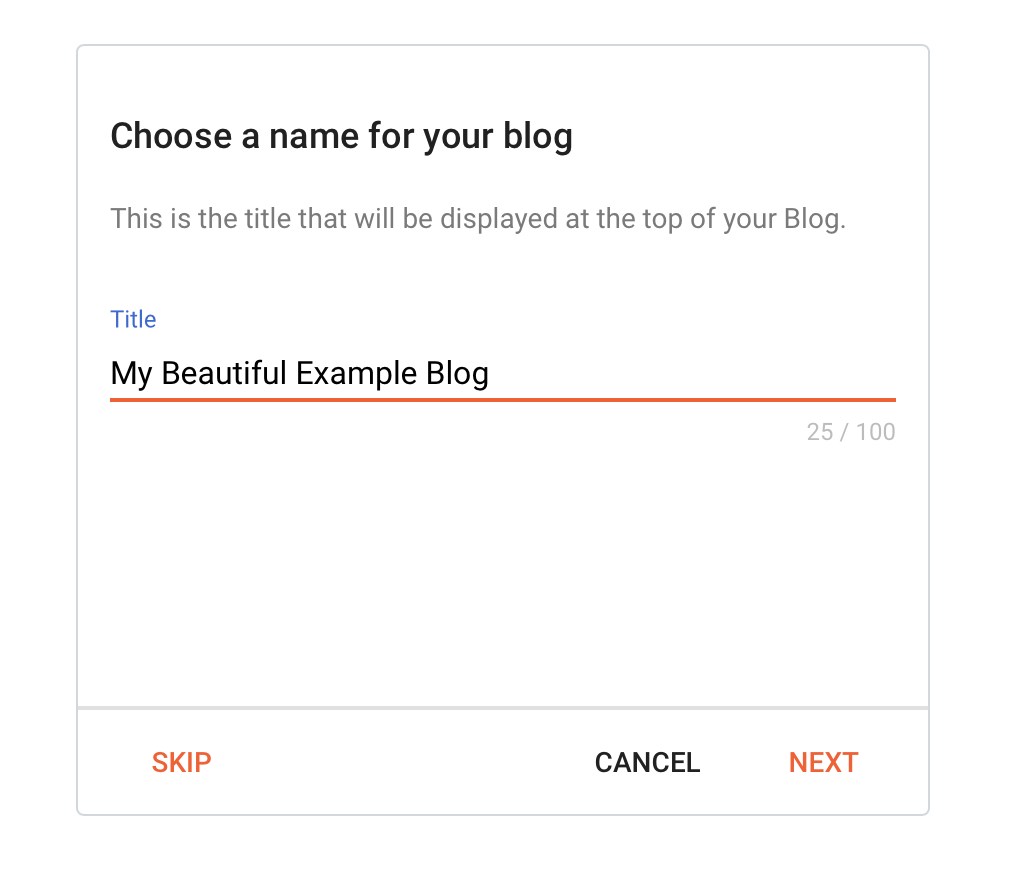
If this is the first blog you've created on Blogger, you will be presented with a dialogue box asking you to enter a name for your new blog. Choose carefully--I'm not sure you can go back and change this easily.

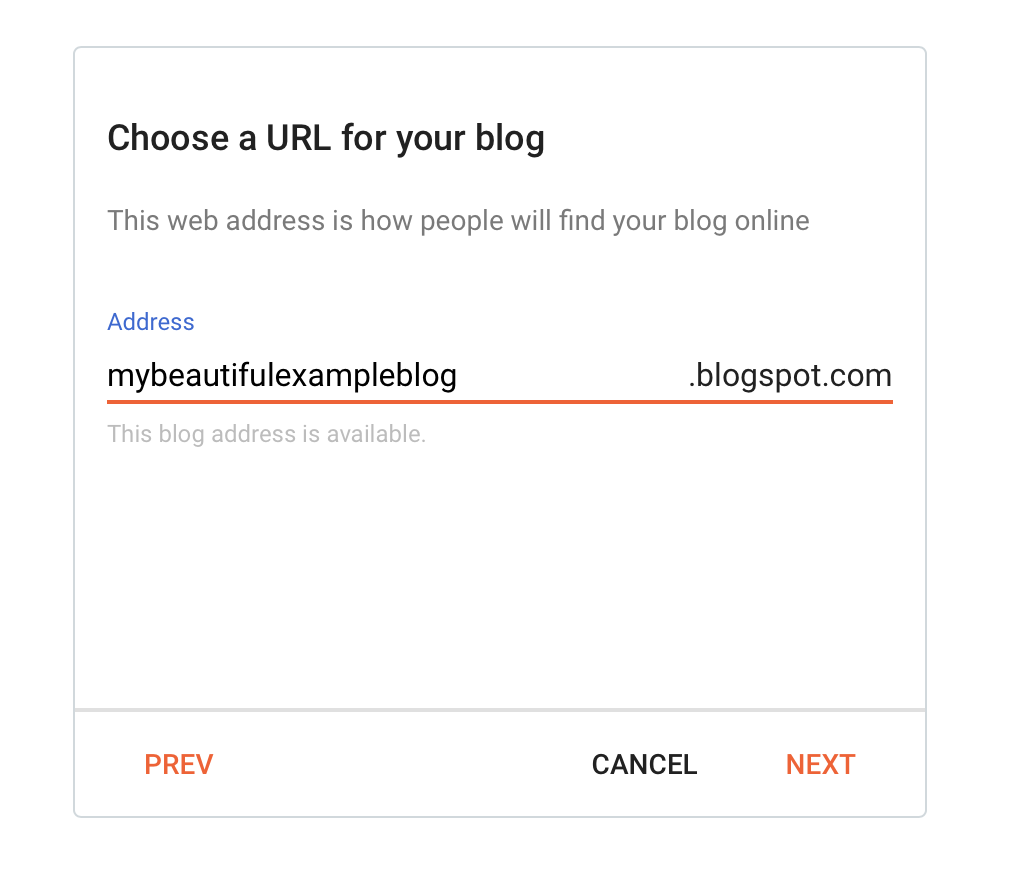
Click "Next", and you'll be asked to choose a URL for your blog. Again, choose carefully.

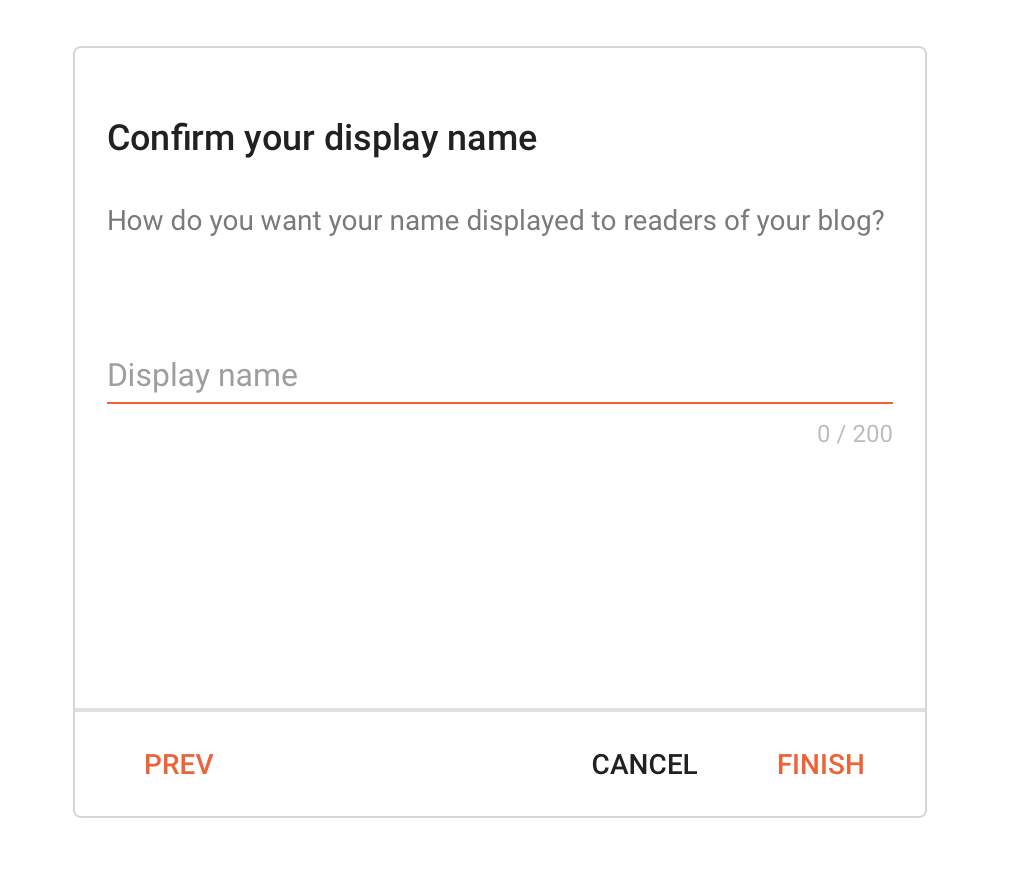
Now you'll be asked to enter your "Display Name". This is a name your readers will see, so if you want to be anonymous, now is the time to choose a nom de blog.

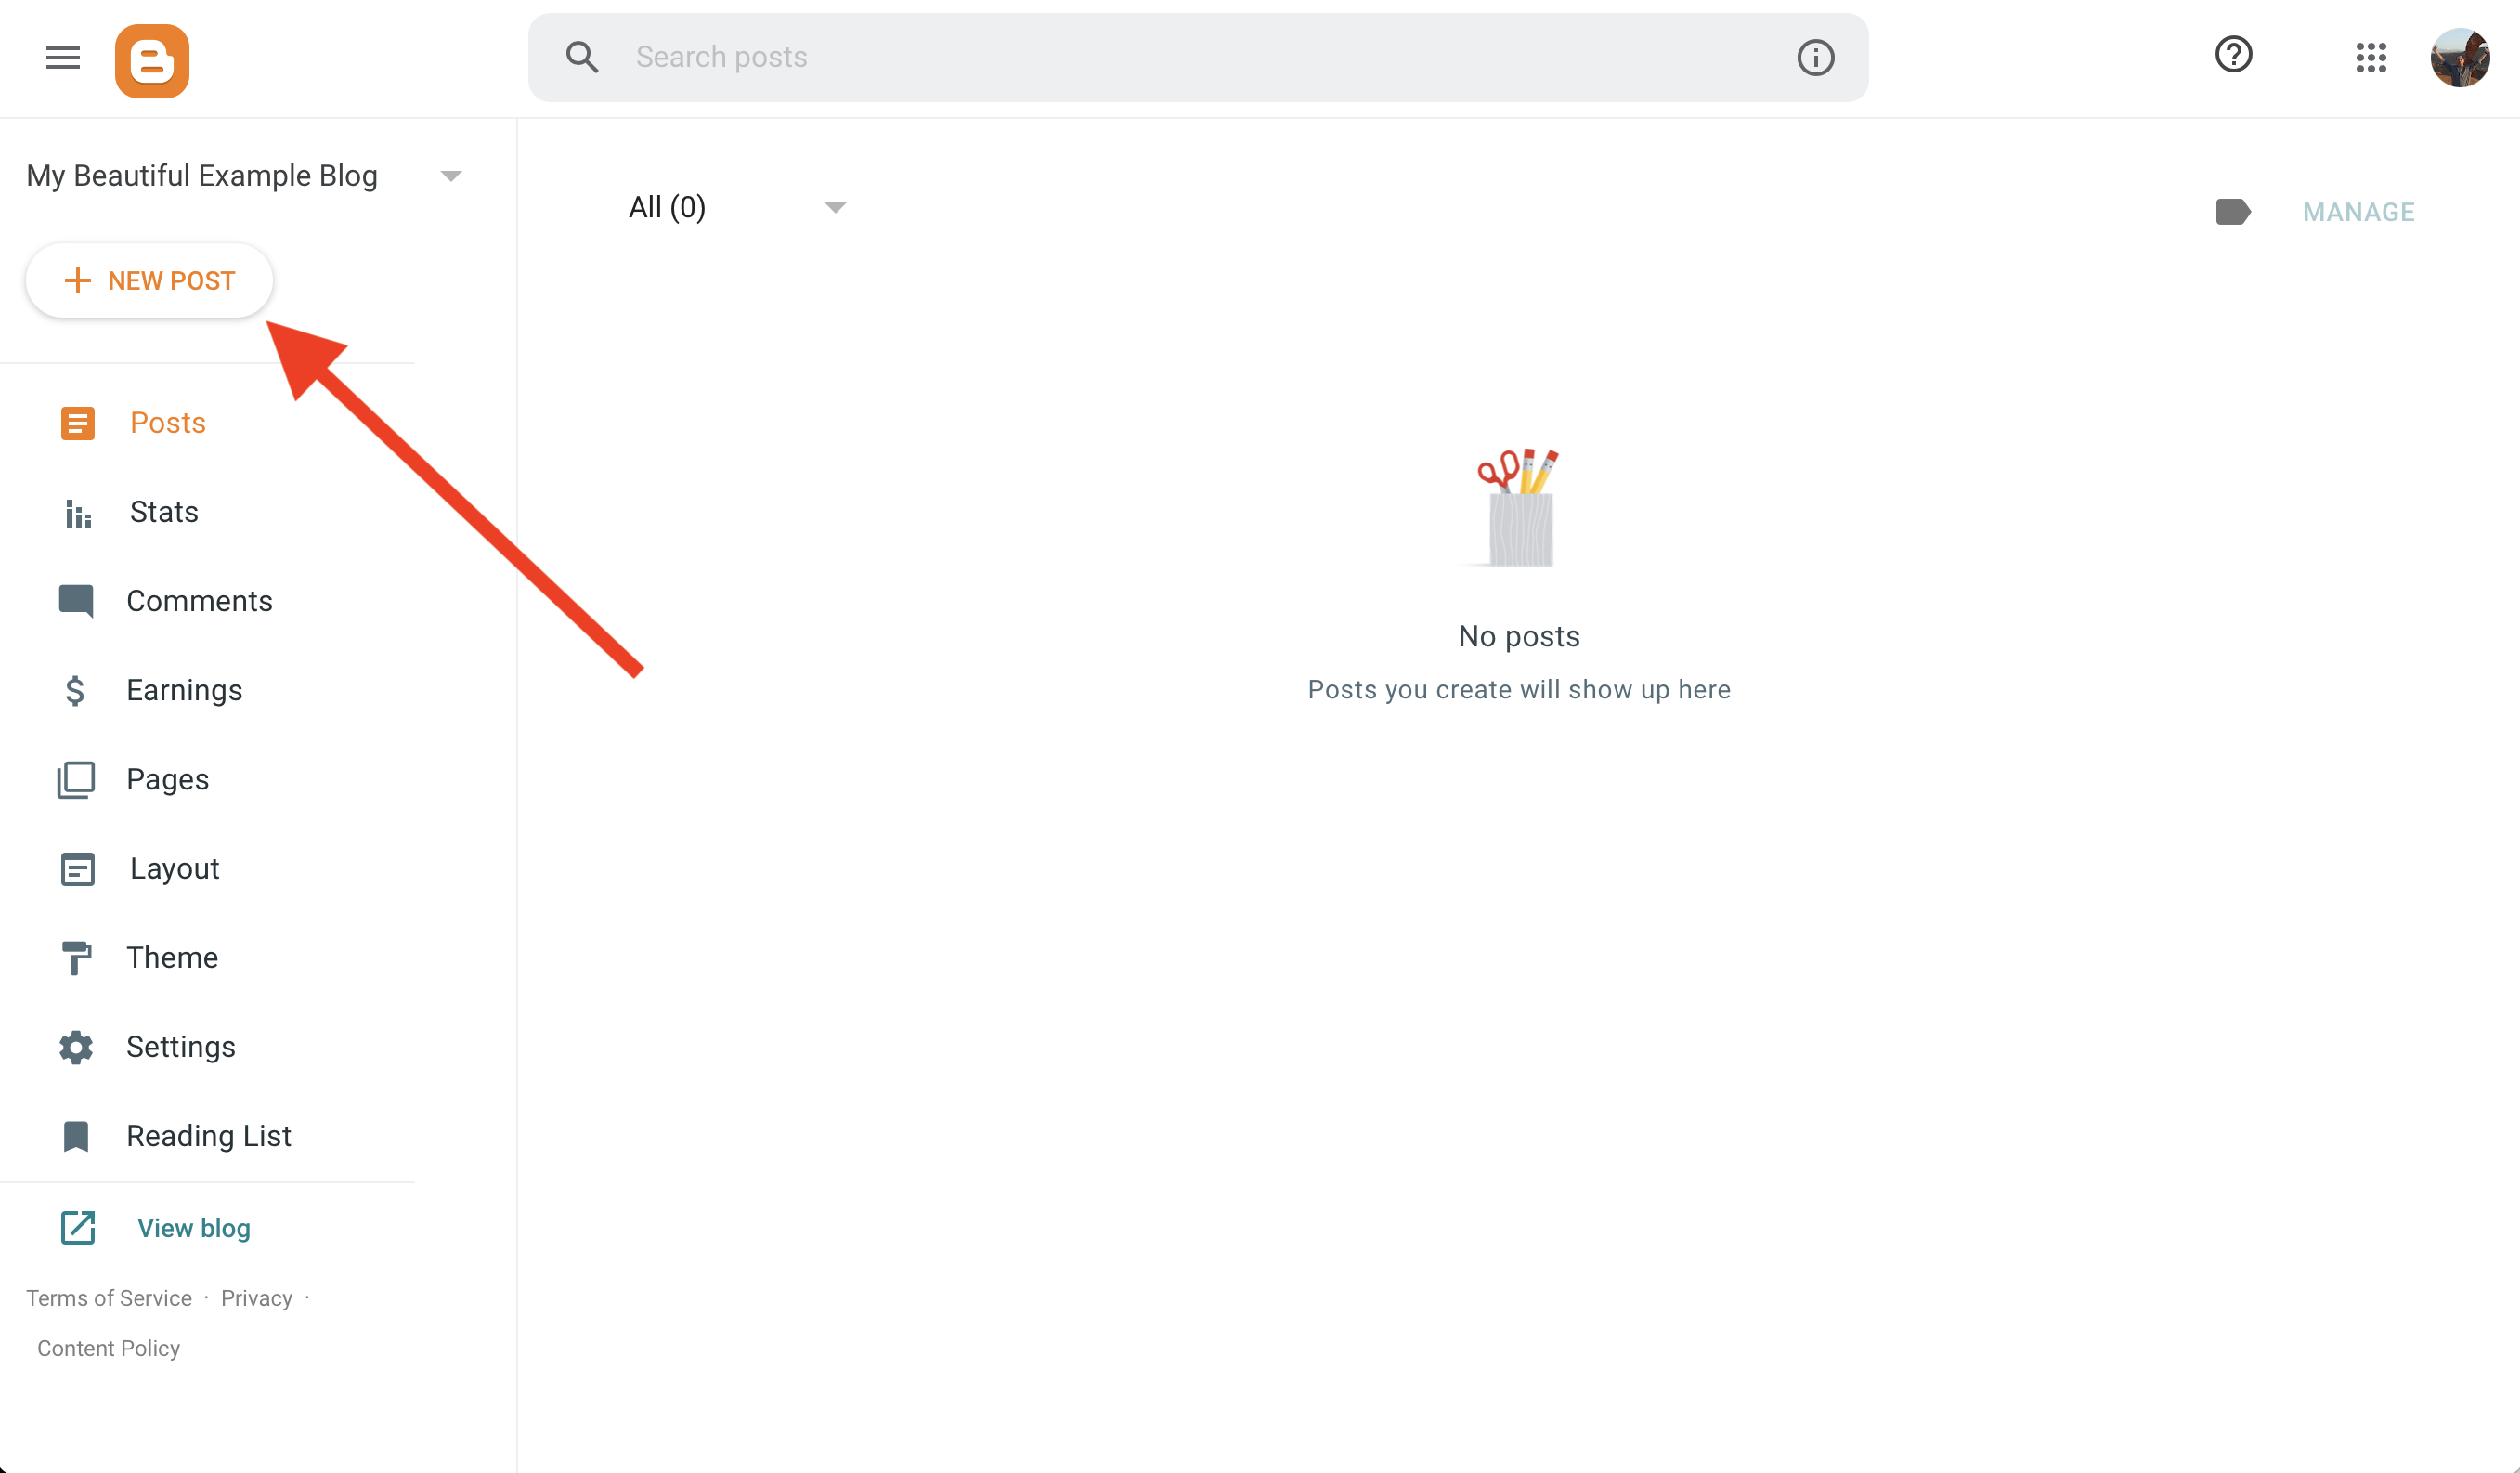
Click "Finish" and you'll find yourself at what I'll call the "management page" (not sure if there's an official name for it). The text "No posts" shows that you haven't created any blog posts yet.

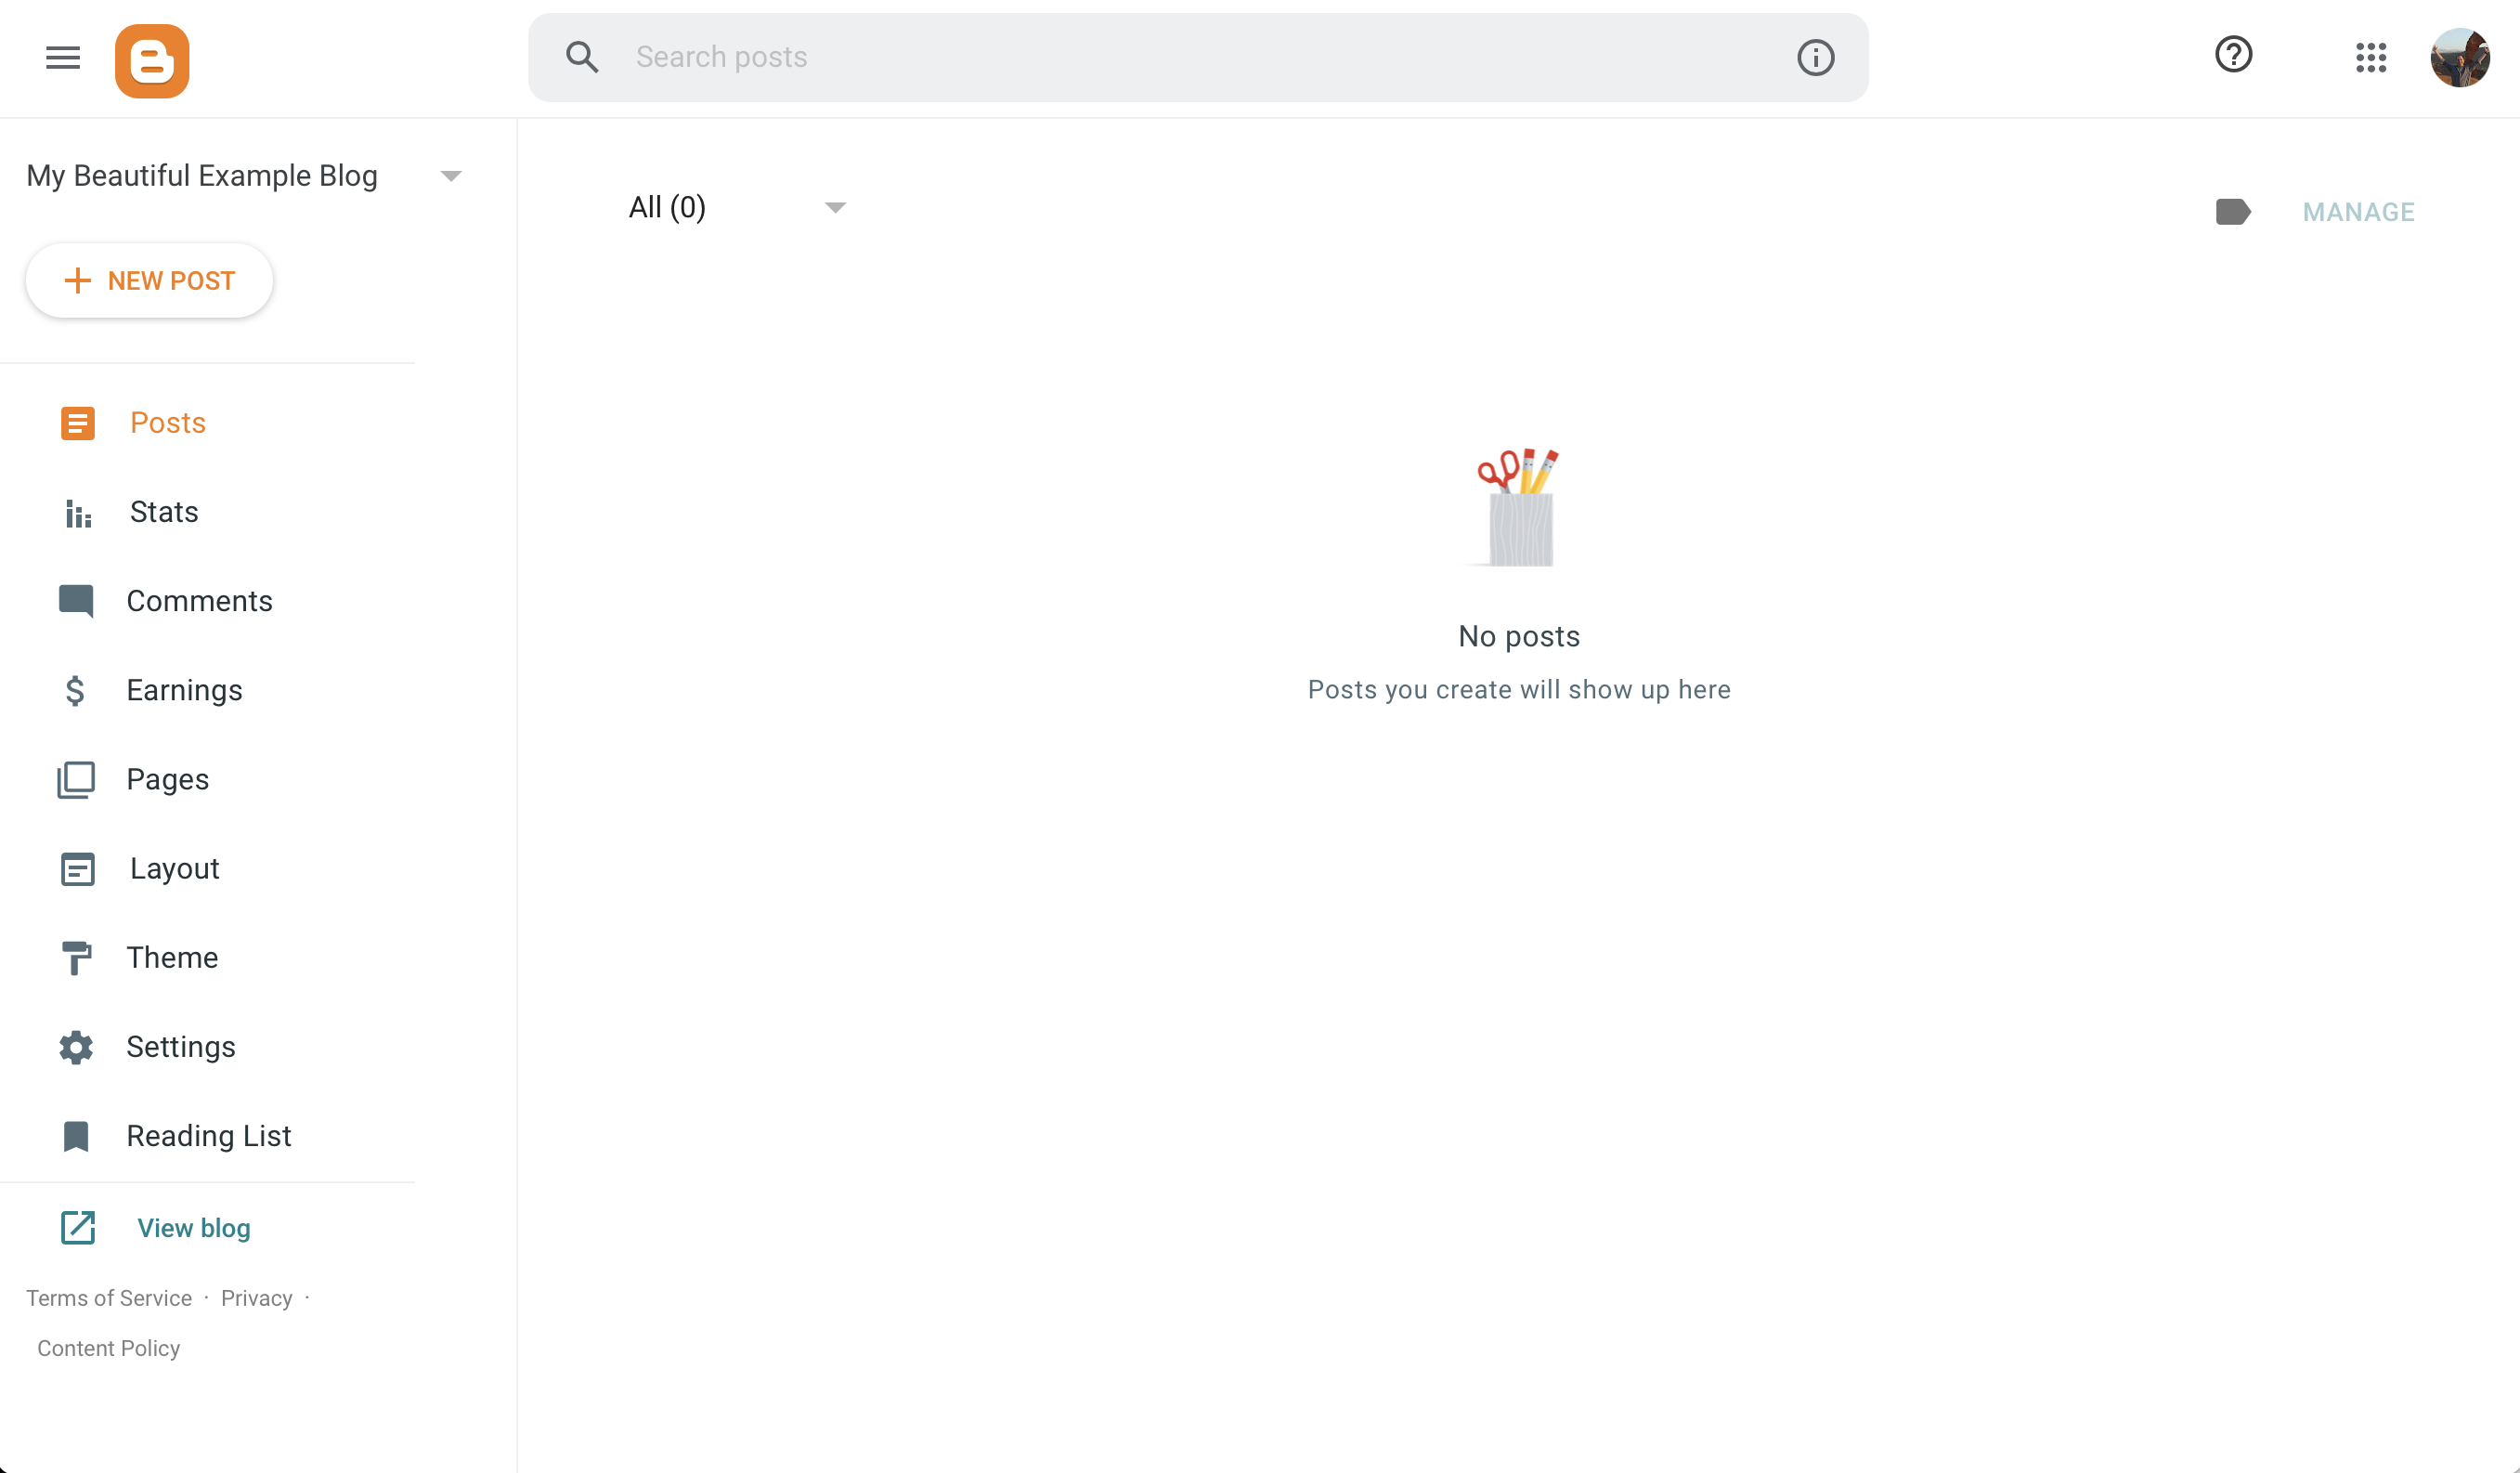
Click on the "+ NEW POST" to create your first post.

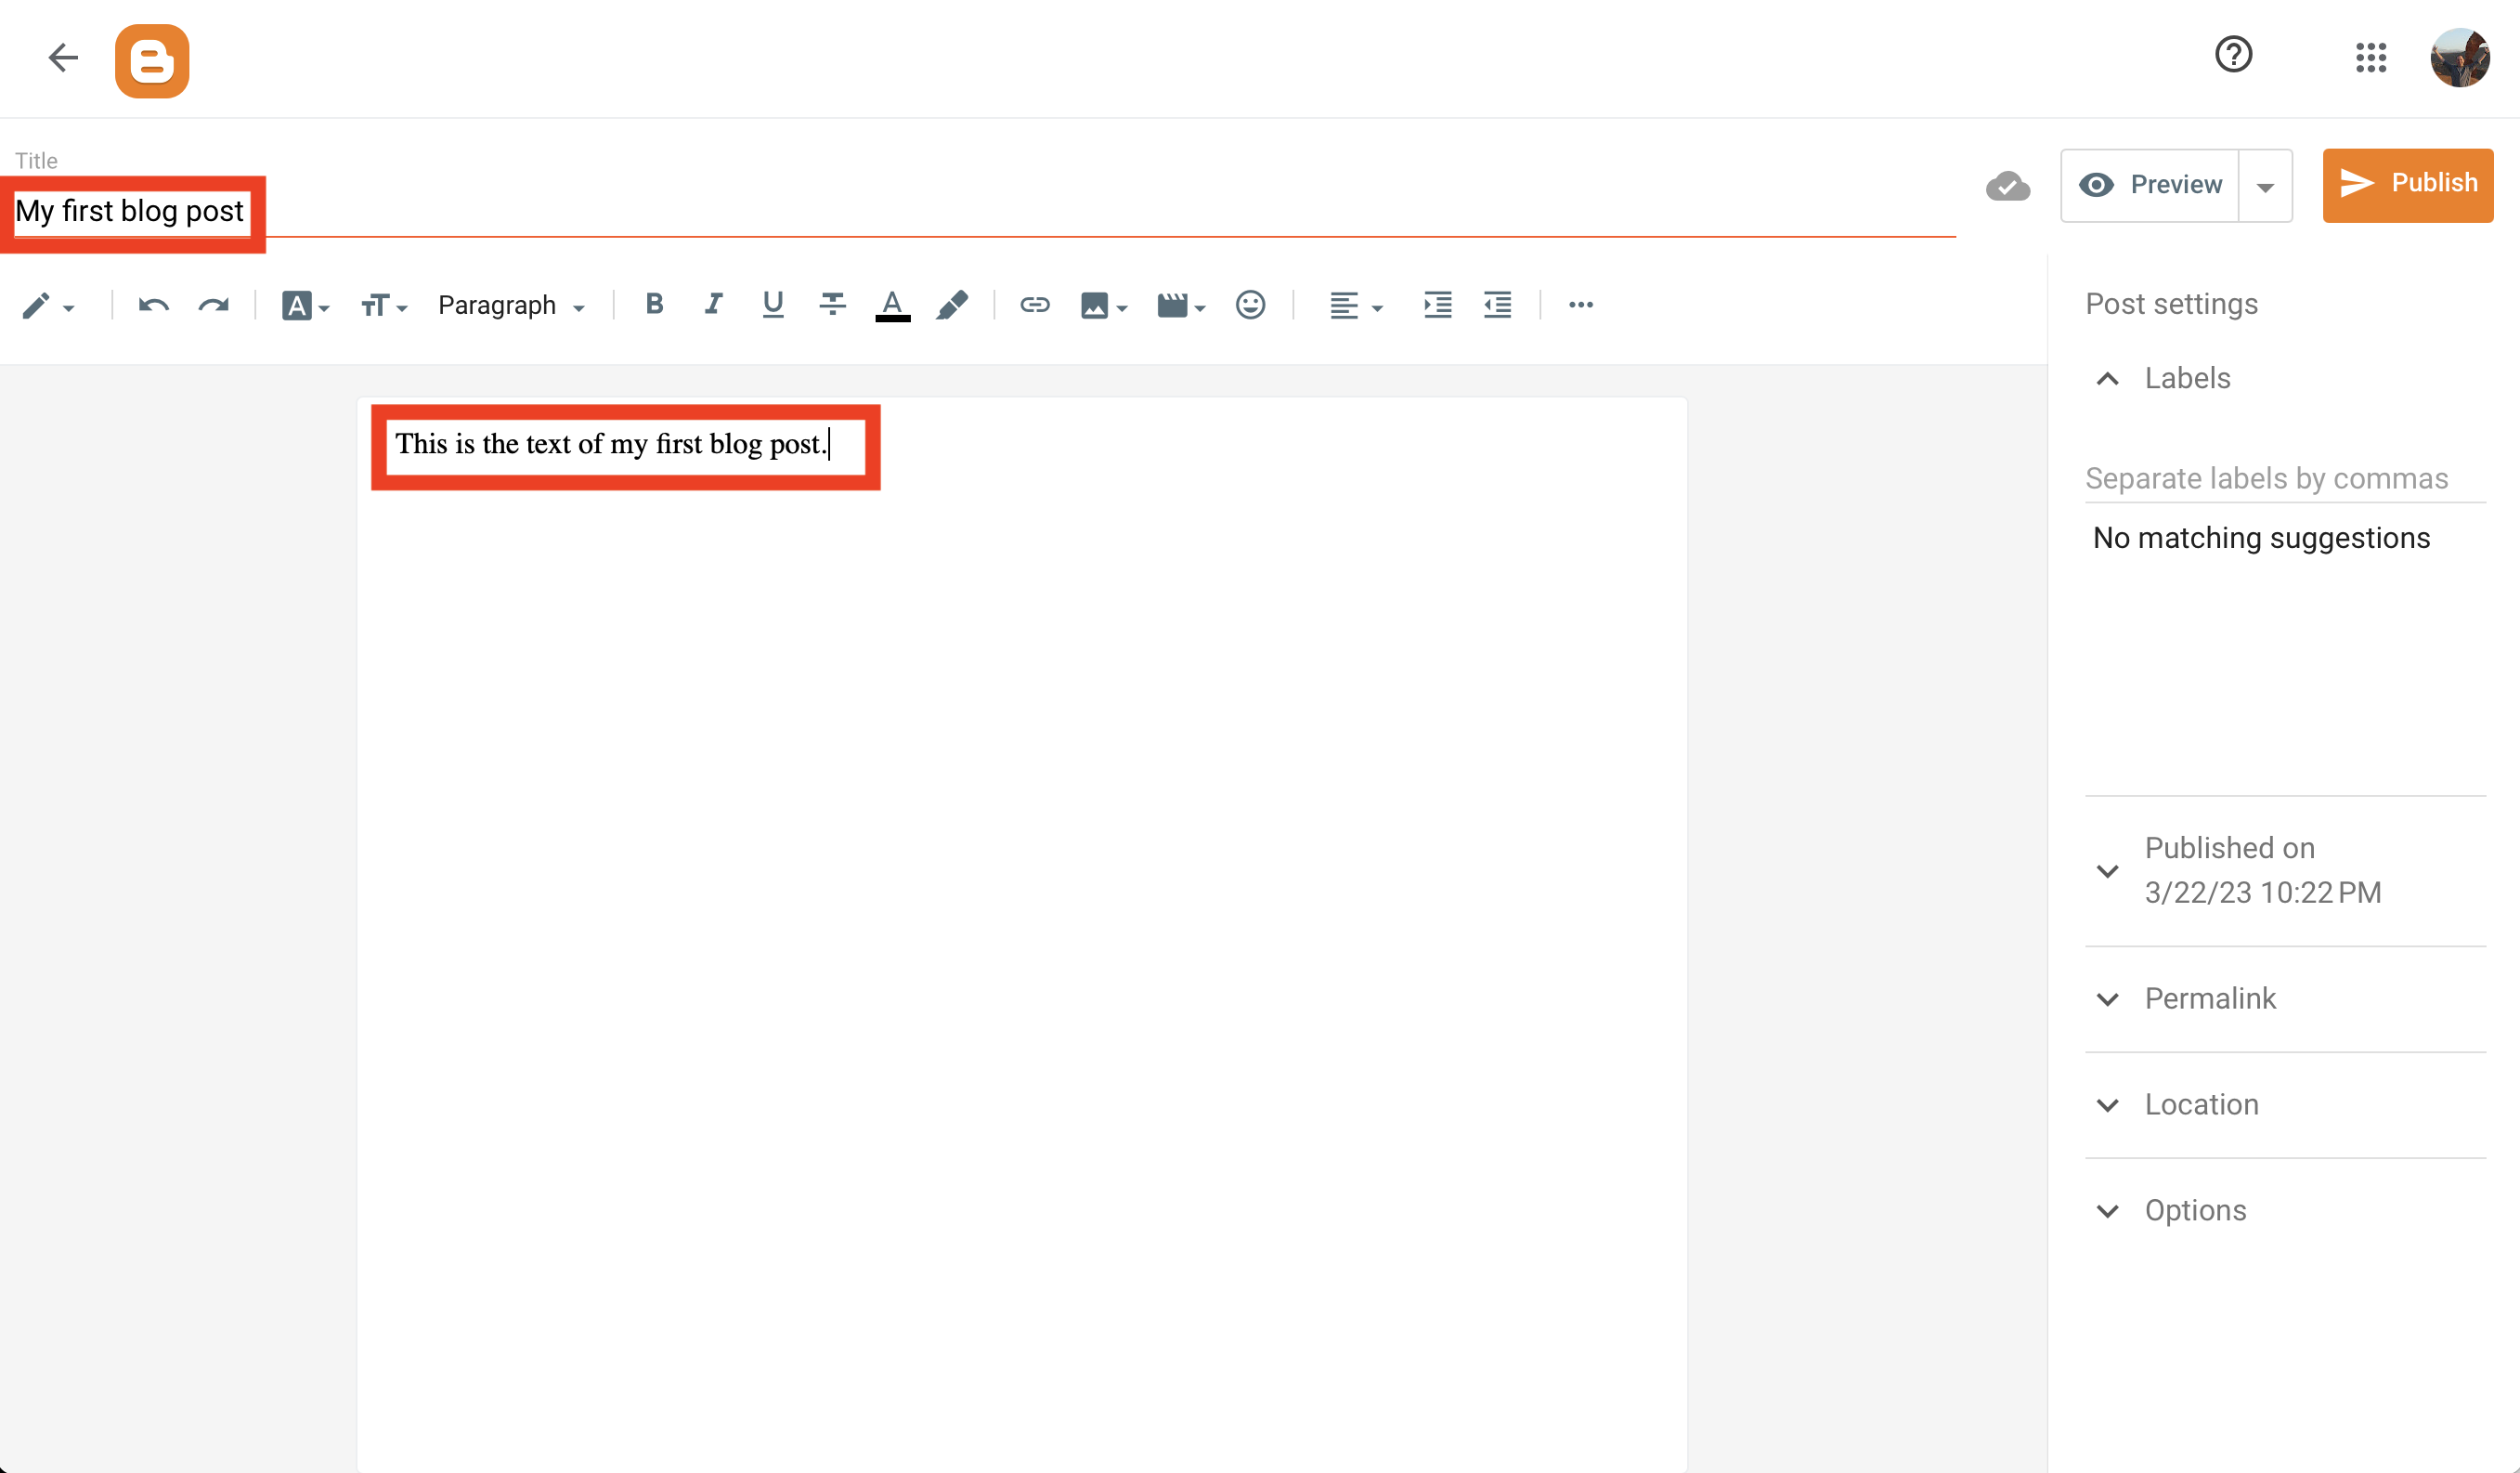
Enter text in the "Title" field and write the text of your post in the main edit pane. Then click the "Publish" button.

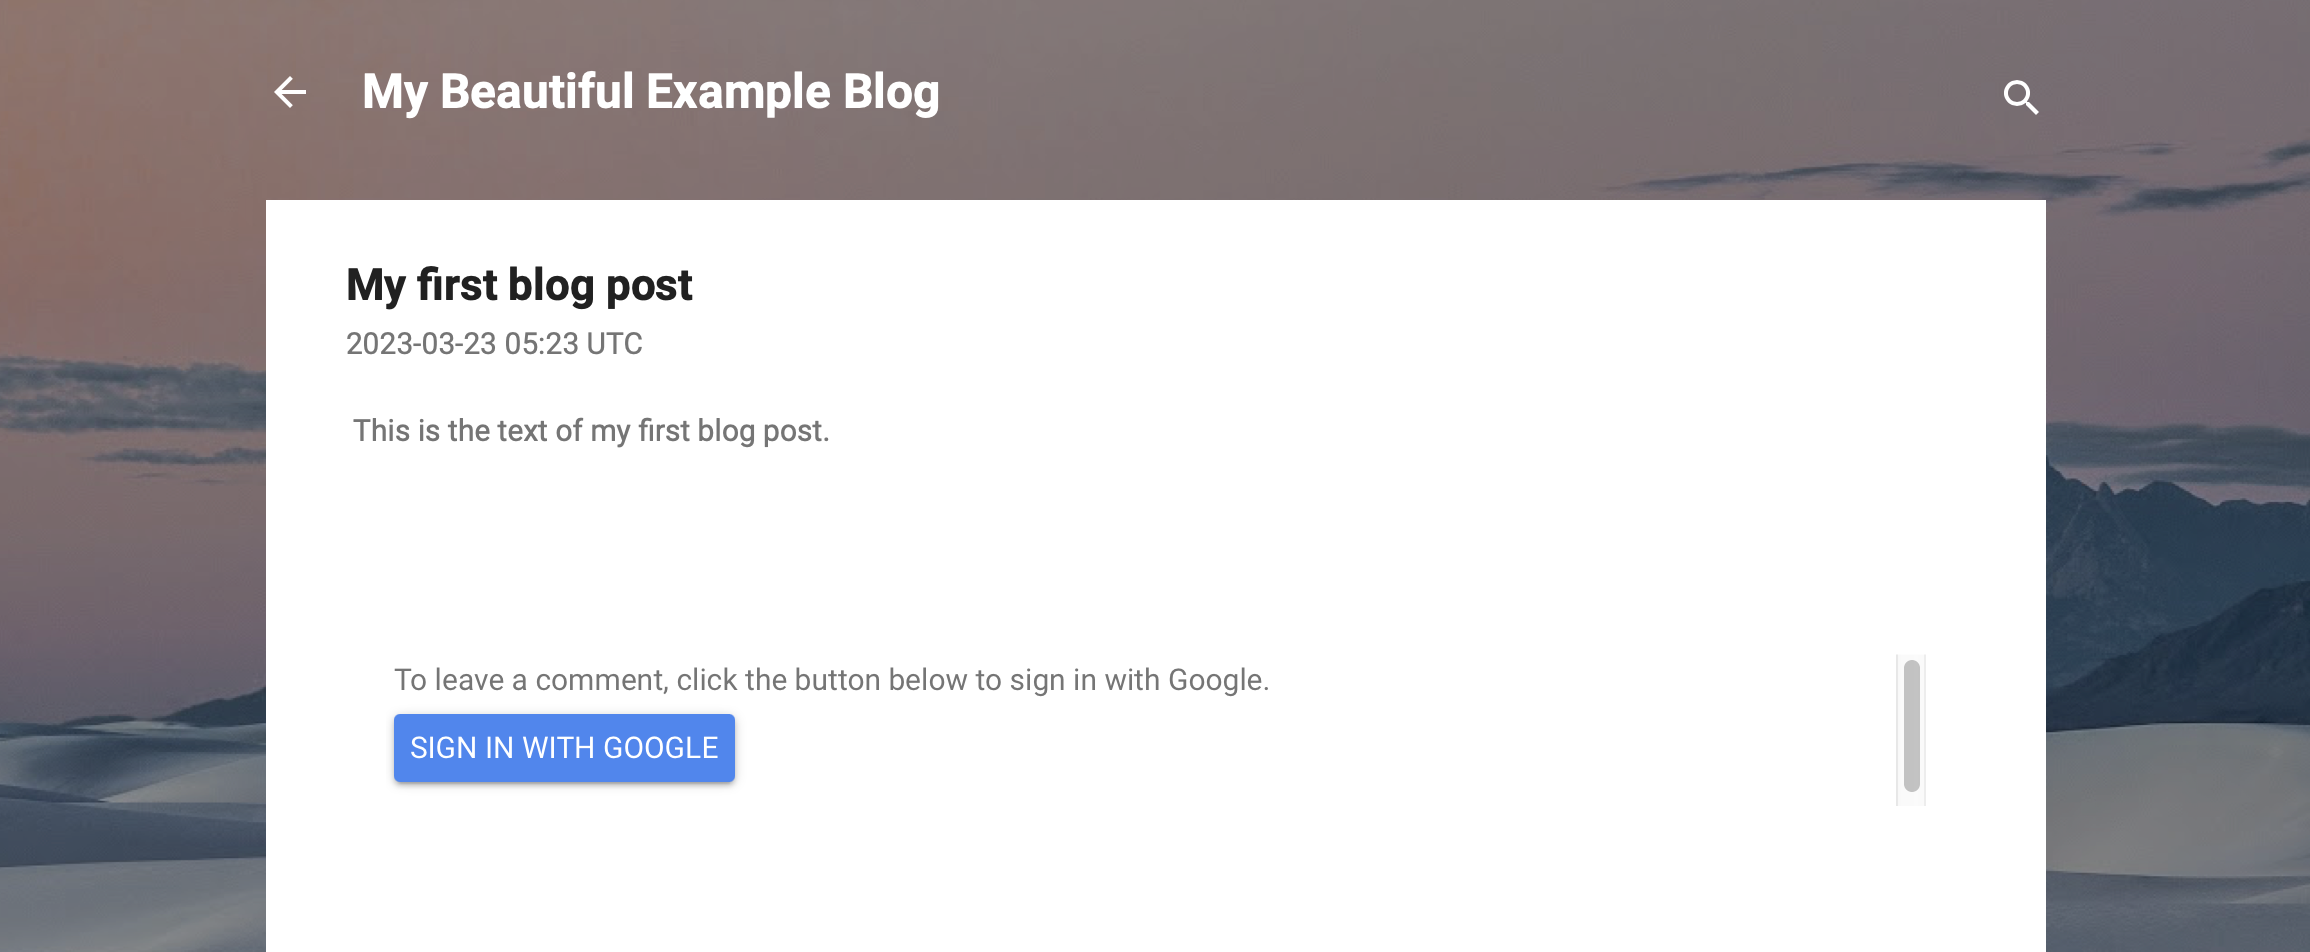
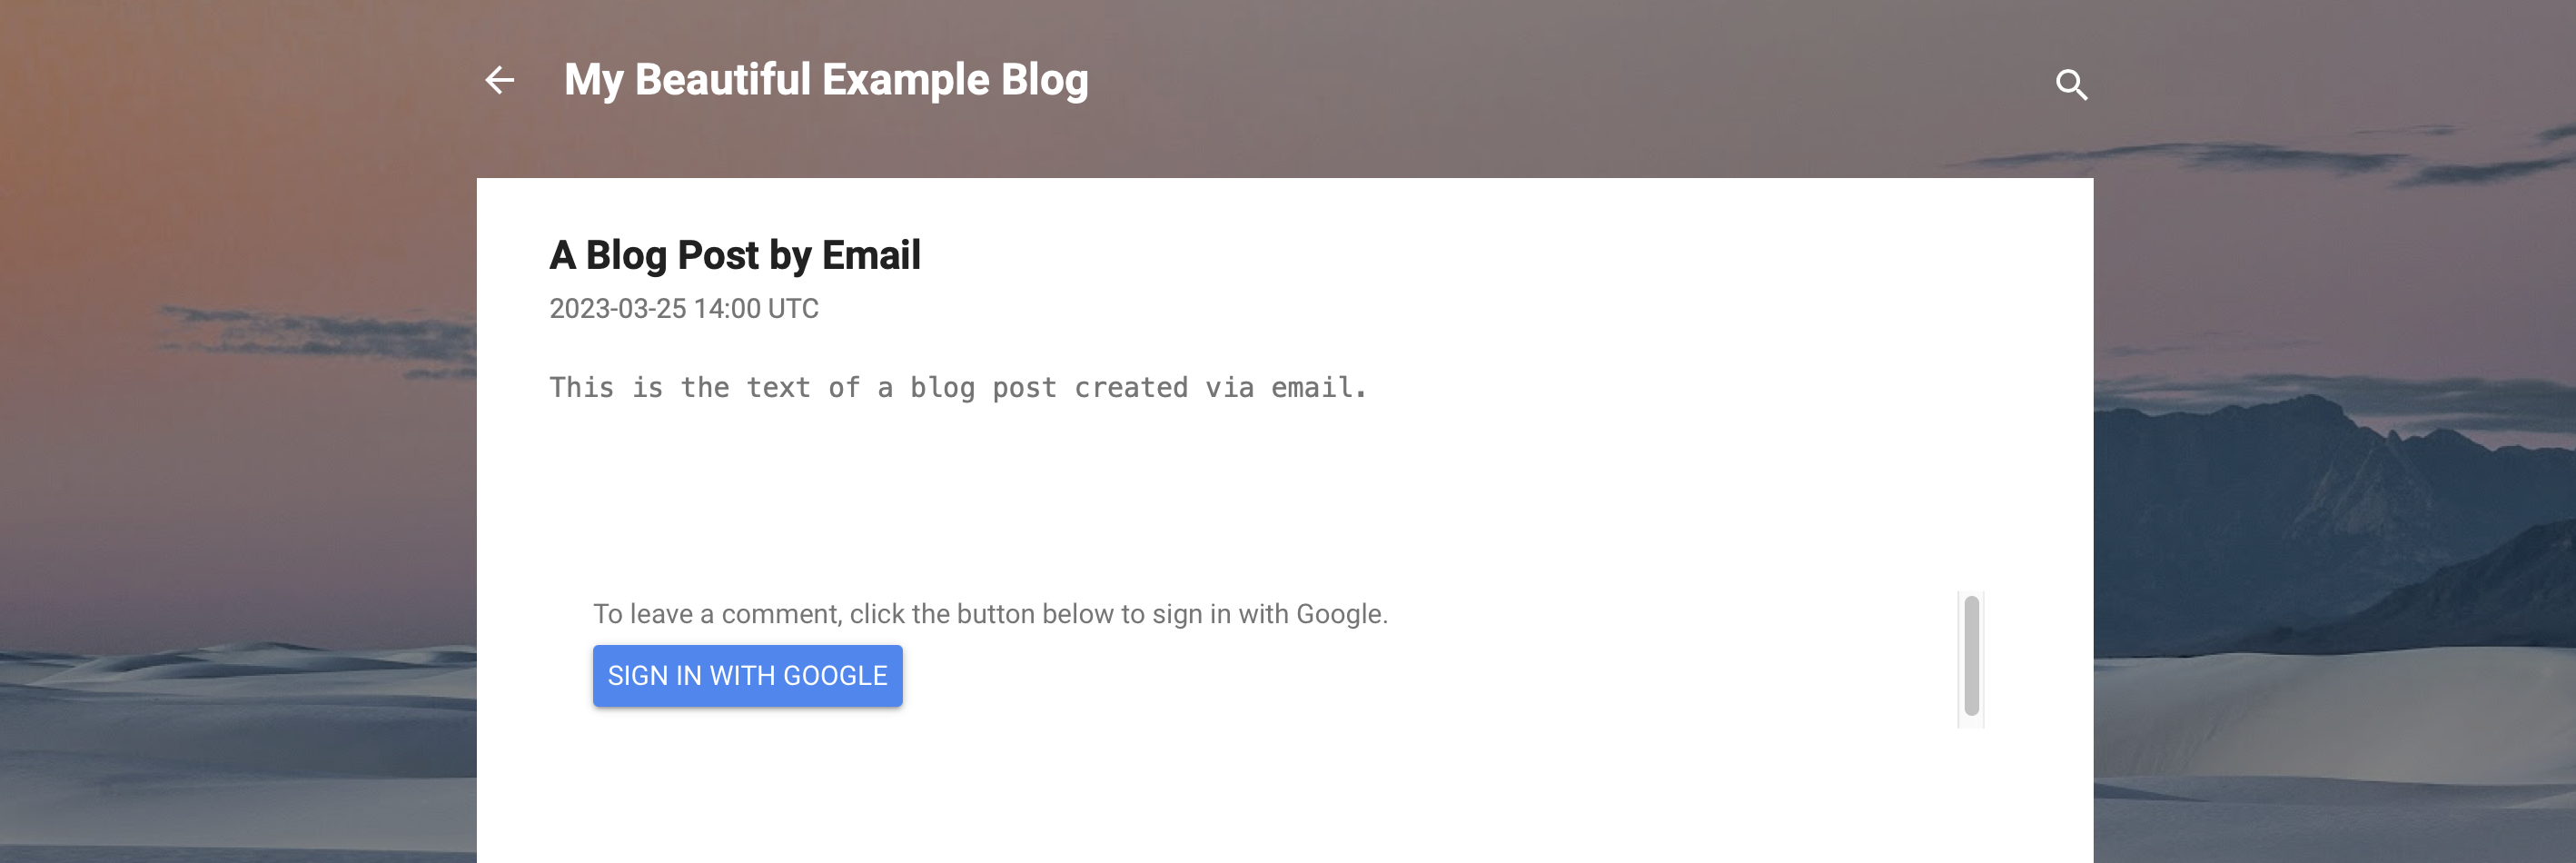
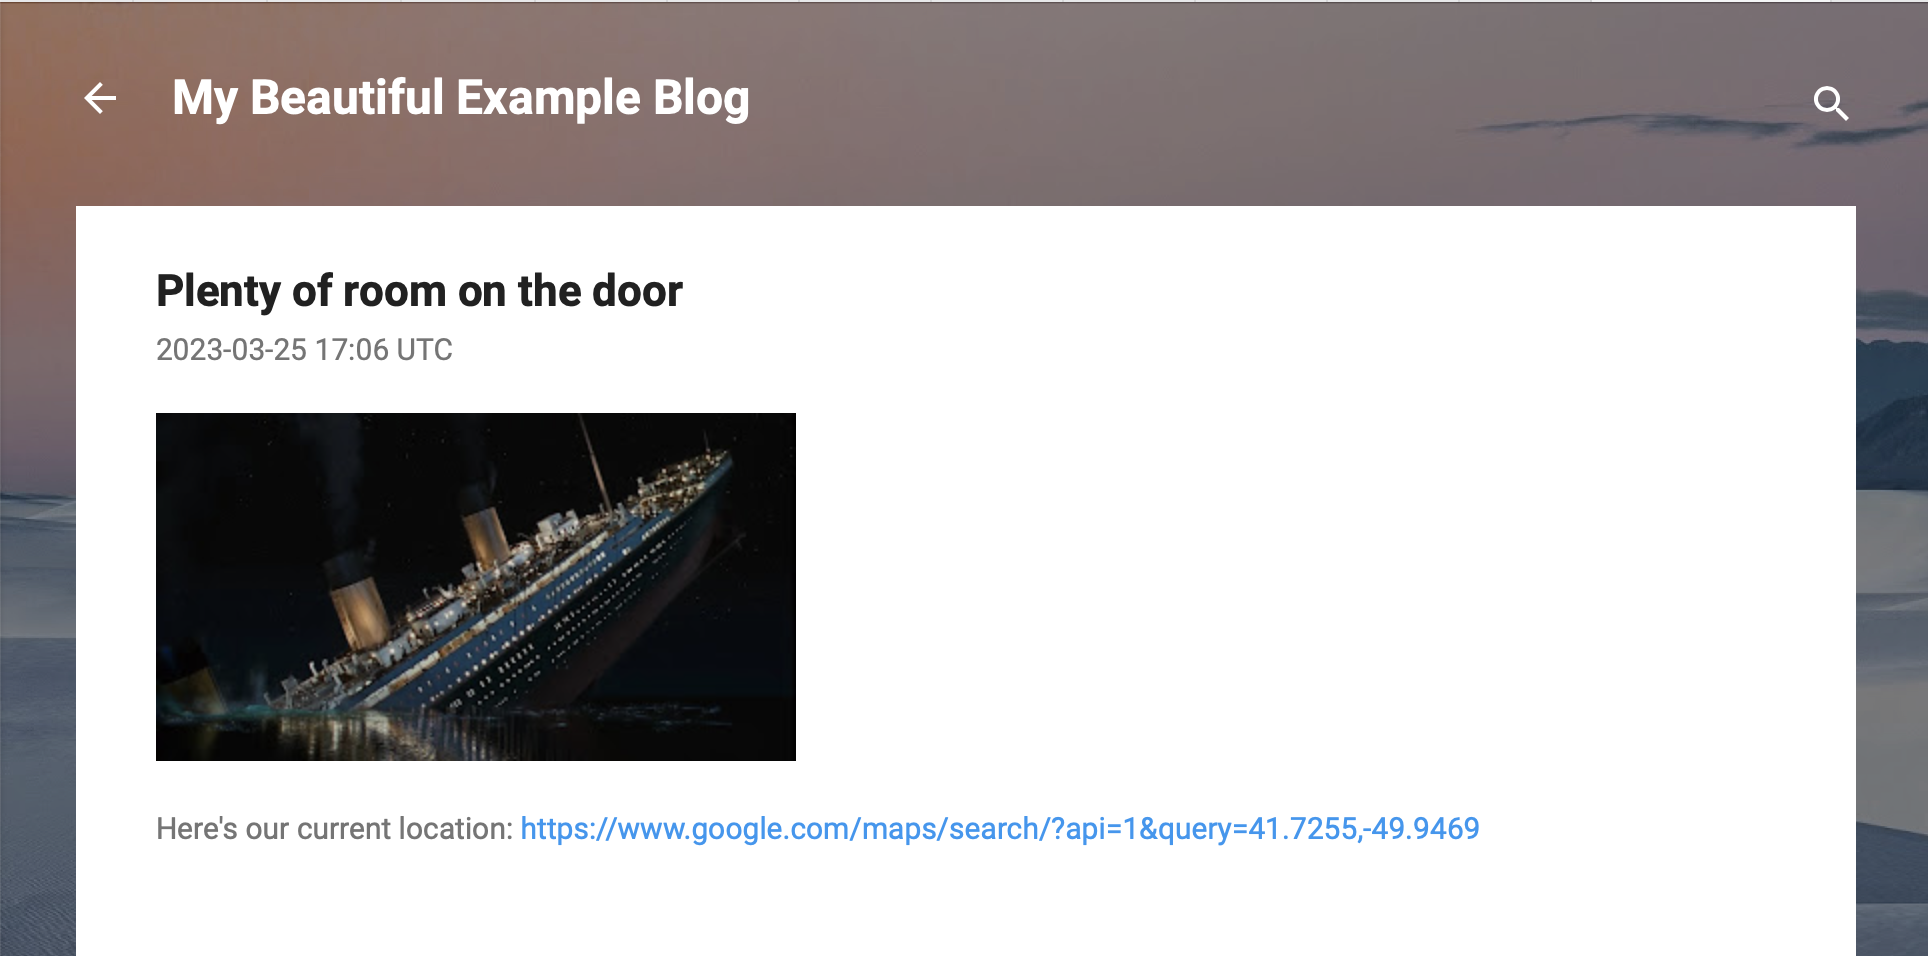
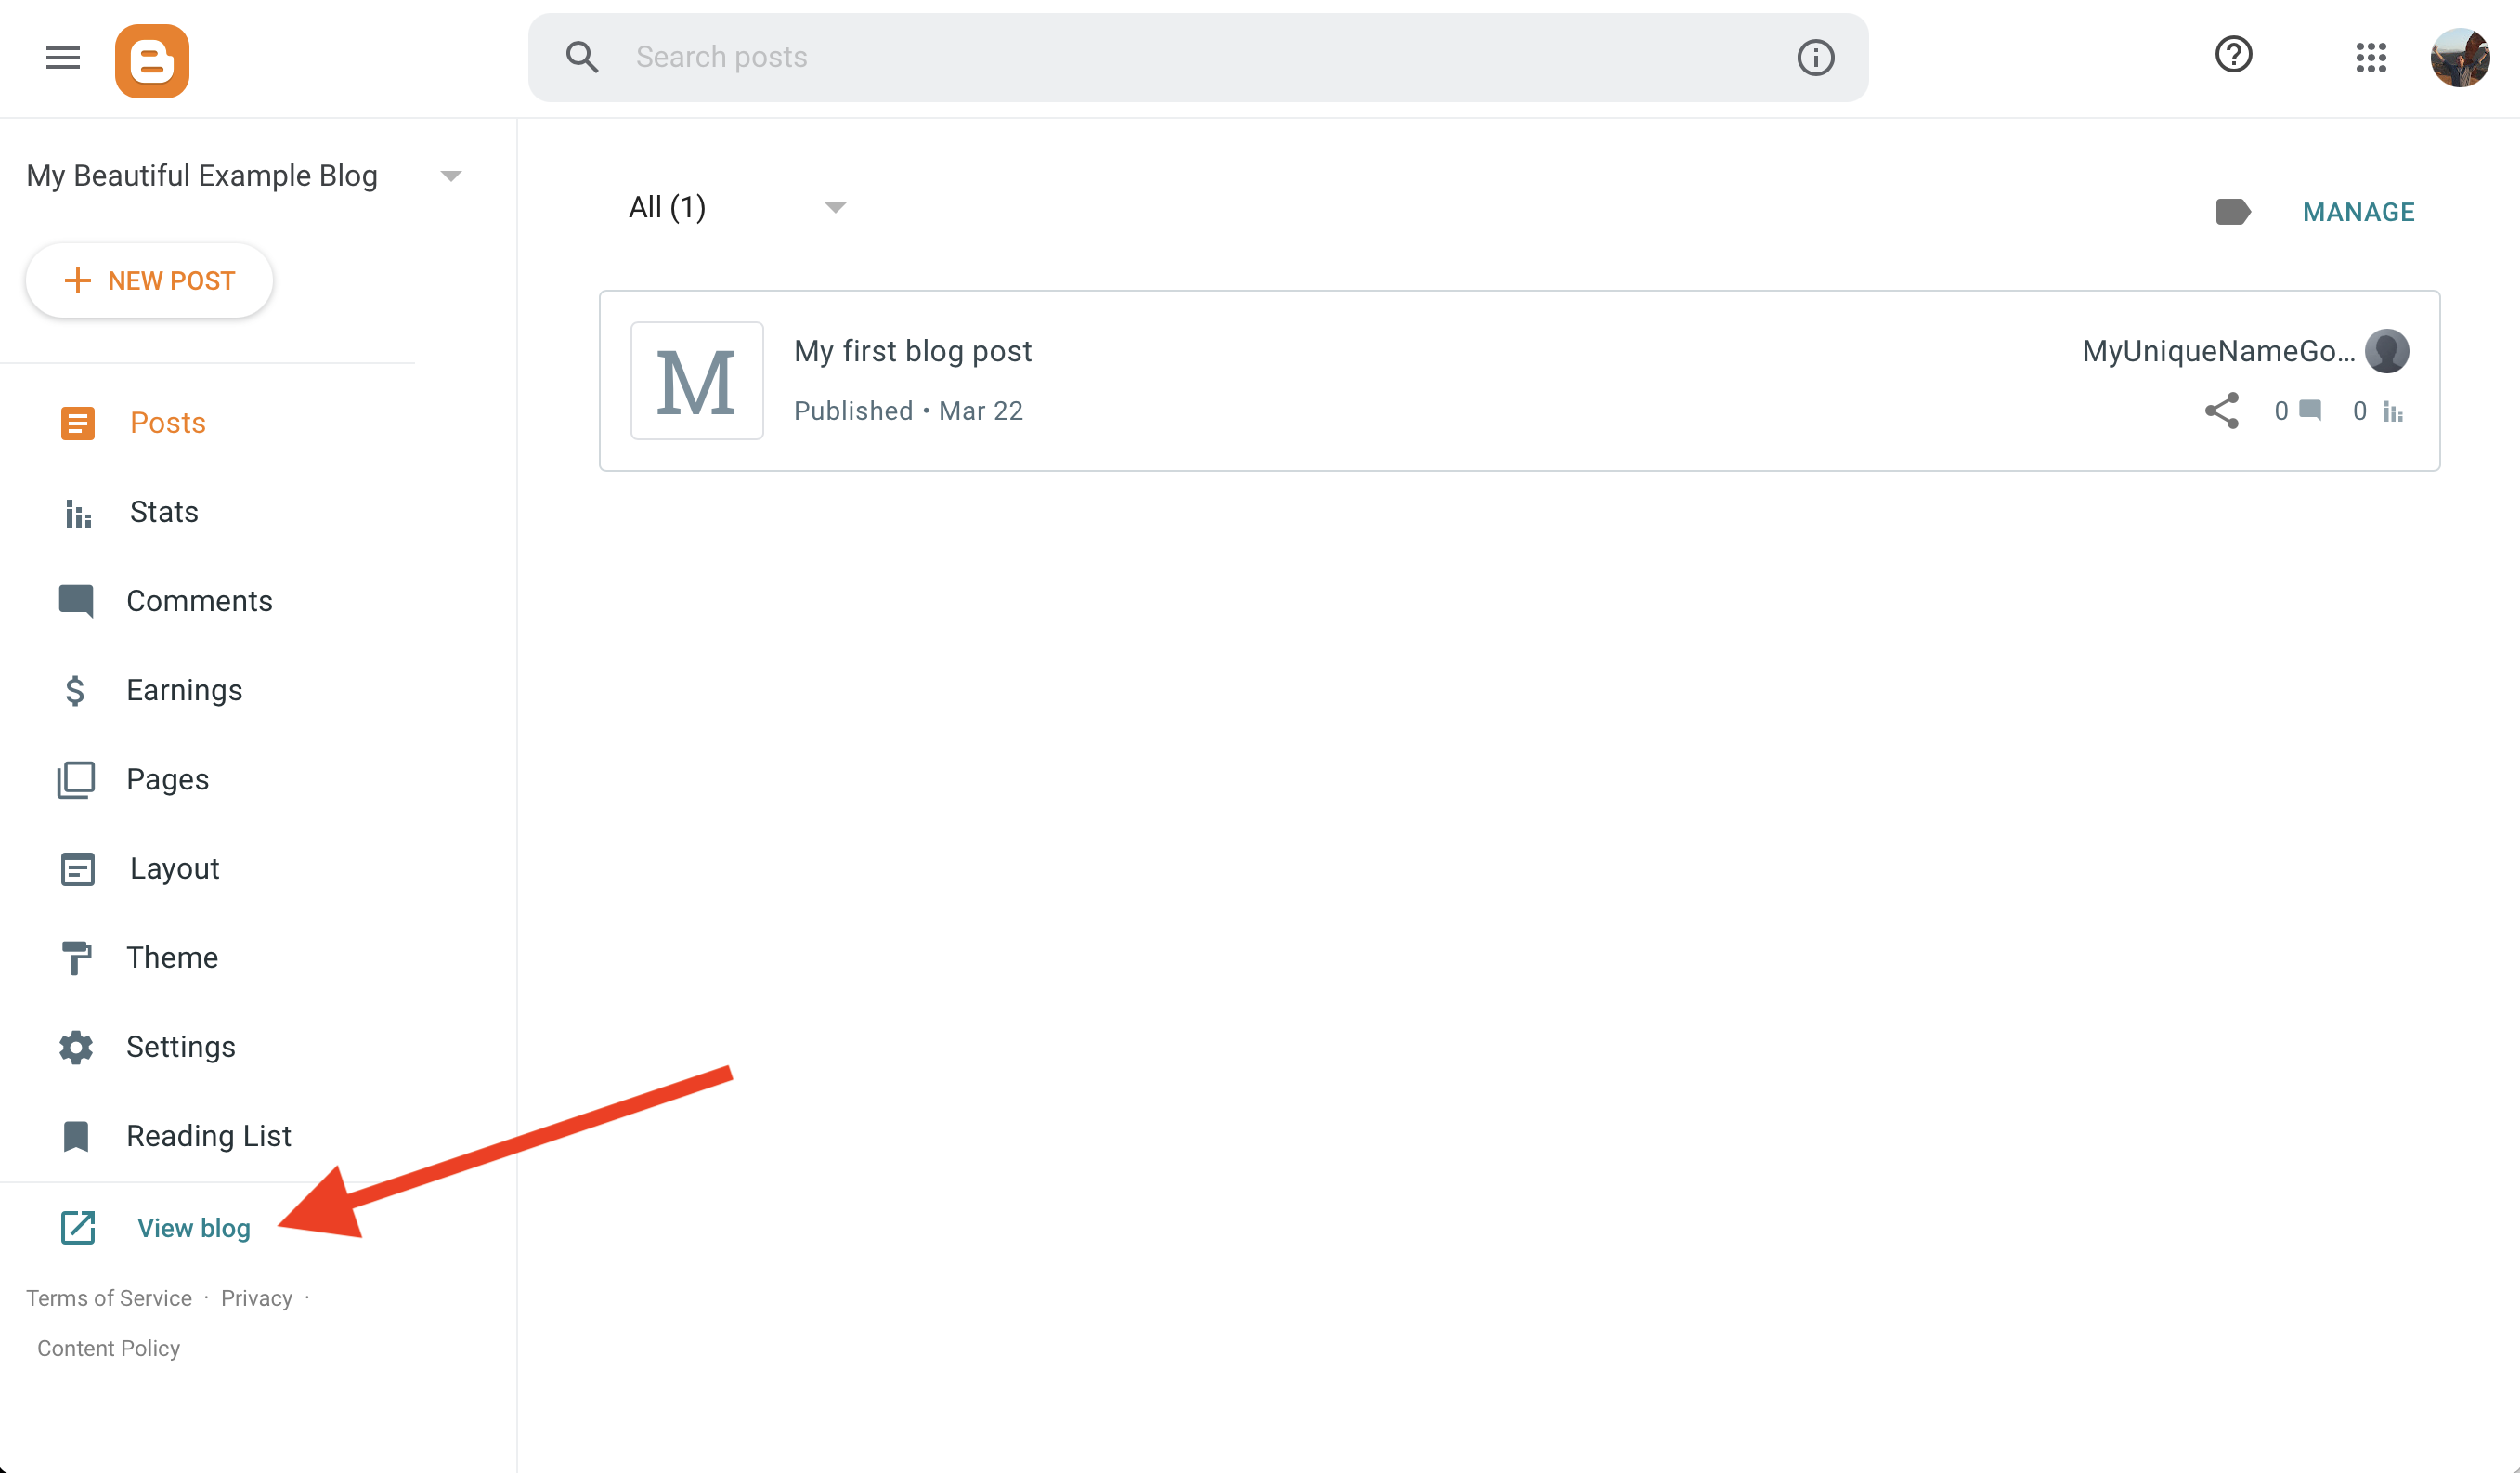
Your first blog post has been created. To see it as your readers will, click on the "View blog" link at the bottom of the sidebar.

Congratulations! You've created your first blog post.

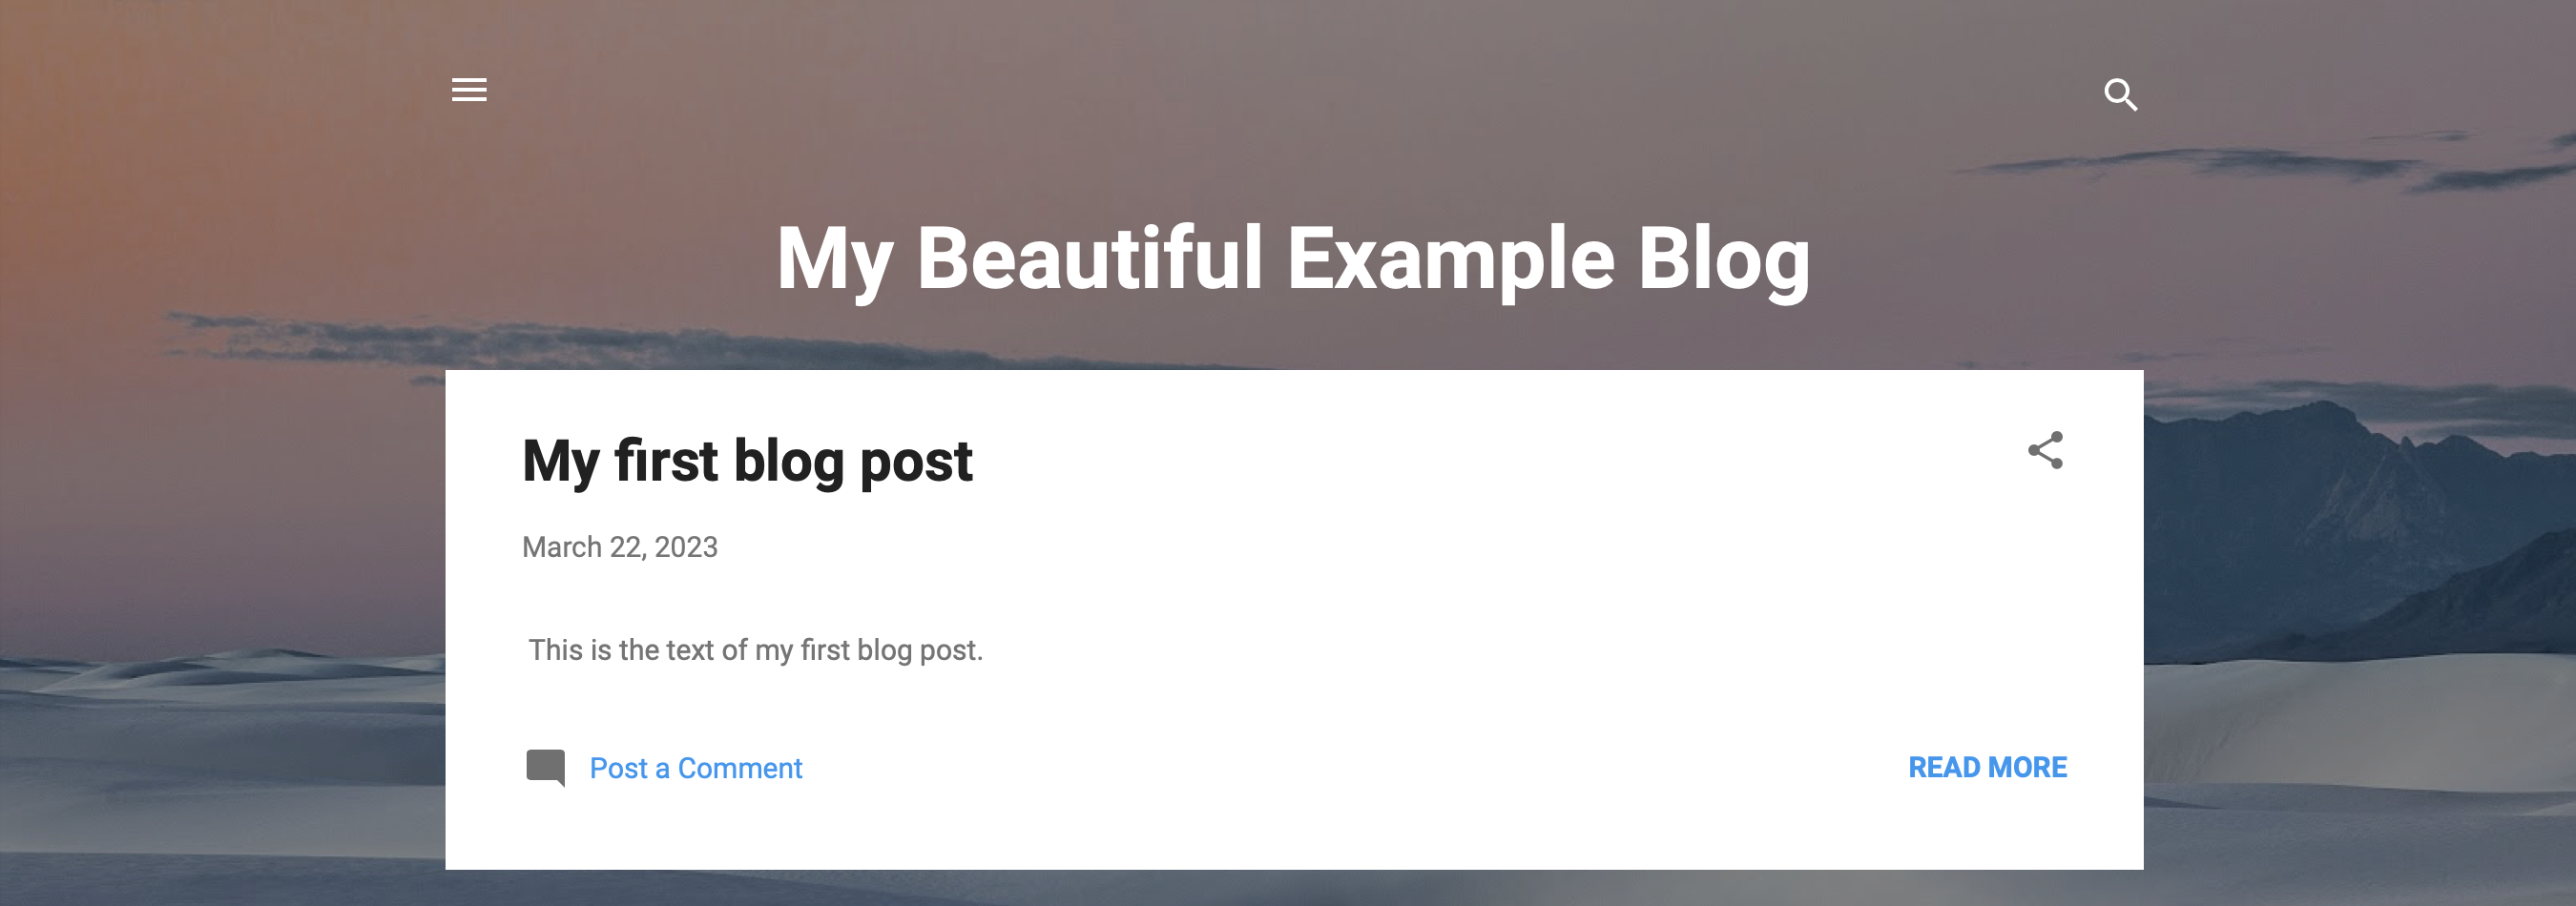
Incidentally, you'll see the words "Powered by Blogger" at the bottom of the page. Click on this at any time to get back to the blog management page.

Fine-tuning

Setting the time zone

By default, Blogger uses the time zone of the device you're posting from to datestamp your posts. You may wish to use a specific time zone, like UTC (a.k.a. "Greenwich Mean Time", or GMT) instead.

Set datestamps to use the time zone of your choice by clicking on "Settings" in the sidebar in the management page. Scroll down to "Formatting" and click on "Time zone".

In the dialogue box that pops up, select the time zone you want to use.

Changing the timestamp date format

You'll notice that the timestamp string on our first blog post reads just "March 22, 2023". This isn't a problem if you plan to post only once a day, but what if you want to make multiple posts per day? It would be nice to have some indication of what time it was when you wrote each post.

To choose a different datestamp format, go to "Settings" >> "Formatting", as you did for changing the time zone. This time, click on "Timestamp format".

This is where things get disappointing. Of the 11 permitted datestamp formats, only one gives both date and time, and this format produces datestamp strings of the form "3/22/2023 10:29:36 PM". There are at least three things wrong with this datestamp format:

  1. It uses the illogical month/day/year ordering that makes sense only to Americans;
  2. it uses "AM"/"PM" instead of the internationally understood 24-hour clock to distinguish between morning and afternoon; and
  3. it gives no indication of the date zone being used.

Unfortunately, switching to a more sensible datestamp format is more complicated than selecting an option from a pull-down menu, but it is possible. Thanks to YouTube user "Live Blogger", whose video showed me how this is done.

First, click on "Theme" in the sidebar of the management page. You'll be presented with a list of Blogger "themes", with the one currently in use at the very top of the list (n.b., I stuck with the default "Contempo Light" theme. These instructions ought to work with other themes, but I really don't know for sure).

Now do not click on the "Customize" button itself; instead, click on the downward arrow button beside the "Customize" button and select the "Edit HTML" option.

You should now be looking at a page of unintelligible Web code. You're going to look for a particular line of code, but be warned: if you just use the search function of your Web browser, it is probably not going to find it.

Instead, click on the "Jump to widget" icon (the one showing four stacked squares, with one of the squares being crooked) and select "Blog 1" from the resulting pull-down. Now your Web browser's search function should work.

Look for the string

<code><div class='post'></code>

Three lines down from this, you should see the line

<code><b:include name='headerByline'/></code>

Delete this line and replace it with the following three lines of code:

<div class='post-header'>
   <b:eval expr='data:post.date format " yyyy-MM-dd HH:mm z"'/>
</div>

Your code should end up looking like this:

Finally, click the "Save" icon and go back and look at your post.

Success! The datestamp string is now in the sensible year-month-day format with 24-hour clock and the timezone is displayed.

You can play with this format further, if you like: change the timezone format from 'z' to 'Z' to get numeric timezones rather than timezone abbreviations, for example. You could even go to the full ISO-8601 time format with time precision down to the nearest microsecond with the format specifier 'yyyy-MM-dd HH:mm:ss.ssssss Z' if you really want to.

Creating a Blog Post Via Email

Posting to your blog via email is very handy when you're somewhere with slow or intermittent Internet access. If you enable this feature, there's no need to log onto your Blogger account and use the graphical user interface to generate a post.

Admittedly, enabling this feature creates a bit of a security hole. Posting is accomplished by sending your emails to a secret email address. If anyone guesses your secret address, it would be possible for him/her to post to your blog as you.

Posting by email is enabled by going to "Settings" >> "Email" >> "Post using email" in the sidebar of the management page.

Once you have the "Post using email" dialogue up, select "Publish email immediately" and enter your choice of "secret words" to make your Blogger email address sufficiently obscure.

Now that "Post using email" has been enabled, let's try it out. Here's an example of an email sent from my Gmail account to my not-so-secret Blogger email address.

And here's the result. The text of the email forms the body of the post, while the email's Subject line shows up as the title of the blog post (note that you probably want to remove any signature line from the email you send, or it will appear as part of your blog post).

Inserting a photo into an emailed blog post is easy--just attach the image file to your email, and it shows up in your blog post.

Blogger imposes a size limit on individual posts when they are being emailed. If your email gets returned to you with an error message saying that you have exceeded the file size limit, it is probably because you attached multiple images to your email. If this happens, try converting the images to lower resolution or sending them in separate posts.

Conclusion

There's plenty more customization you can do to your Blogger blog (background images, themes, monetization, etc.), but these are the basics for people wanting to create a sailing or travel blog with Blogger.

Good luck!